
What is AWS HealthOmics?
AWS HealthOmics is a HIPAA-eligible service that accelerates clinical diagnostic testing, drug discovery, and agriculture research by fully managing the complex infrastructure behind your bioinformatics workflows. HealthOmics supports industry-standard workflow languages (WDL, Nextflow, CWL) and seamlessly scales bioinformatics infrastructure to support data from tens of thousands of tests per day — all with predictable cost per-sample. HealthOmics handles the technical complexities like managing compute resources and maintaining workflow engines so you can focus entirely on scientific breakthroughs.
Primary use cases include:
- Clinical Diagnostics
- Drug Discovery
- Agricultural Research
Key benefits are:
- Scale without complexity
- Focus on science, not infrastructure
- Built-in compliance features
Pre-requisites for running the bioinformatics
workflow on AWS HealthOmics.
There are a total of three prerequisites for deploying the workflow on AWS HealthOmics:
- Create an S3 bucket to store reads and to collect the outputs.
- Create an ECR repo to hold the Docker images of the tools that would be used in the workflow.
- Create an IAM service role for HealthOmics that would allow it to access S3 and ECR.
You can refer to this demo Nextflow pipeline or you can use your own.
How to deploy a Nextflow Pipeline on AWS HealthOmics?
Go to the HealthOmics homepage on AWS
Search for HealthOmics in the search bar and navigate to the Private workflows section on the left-hand side.
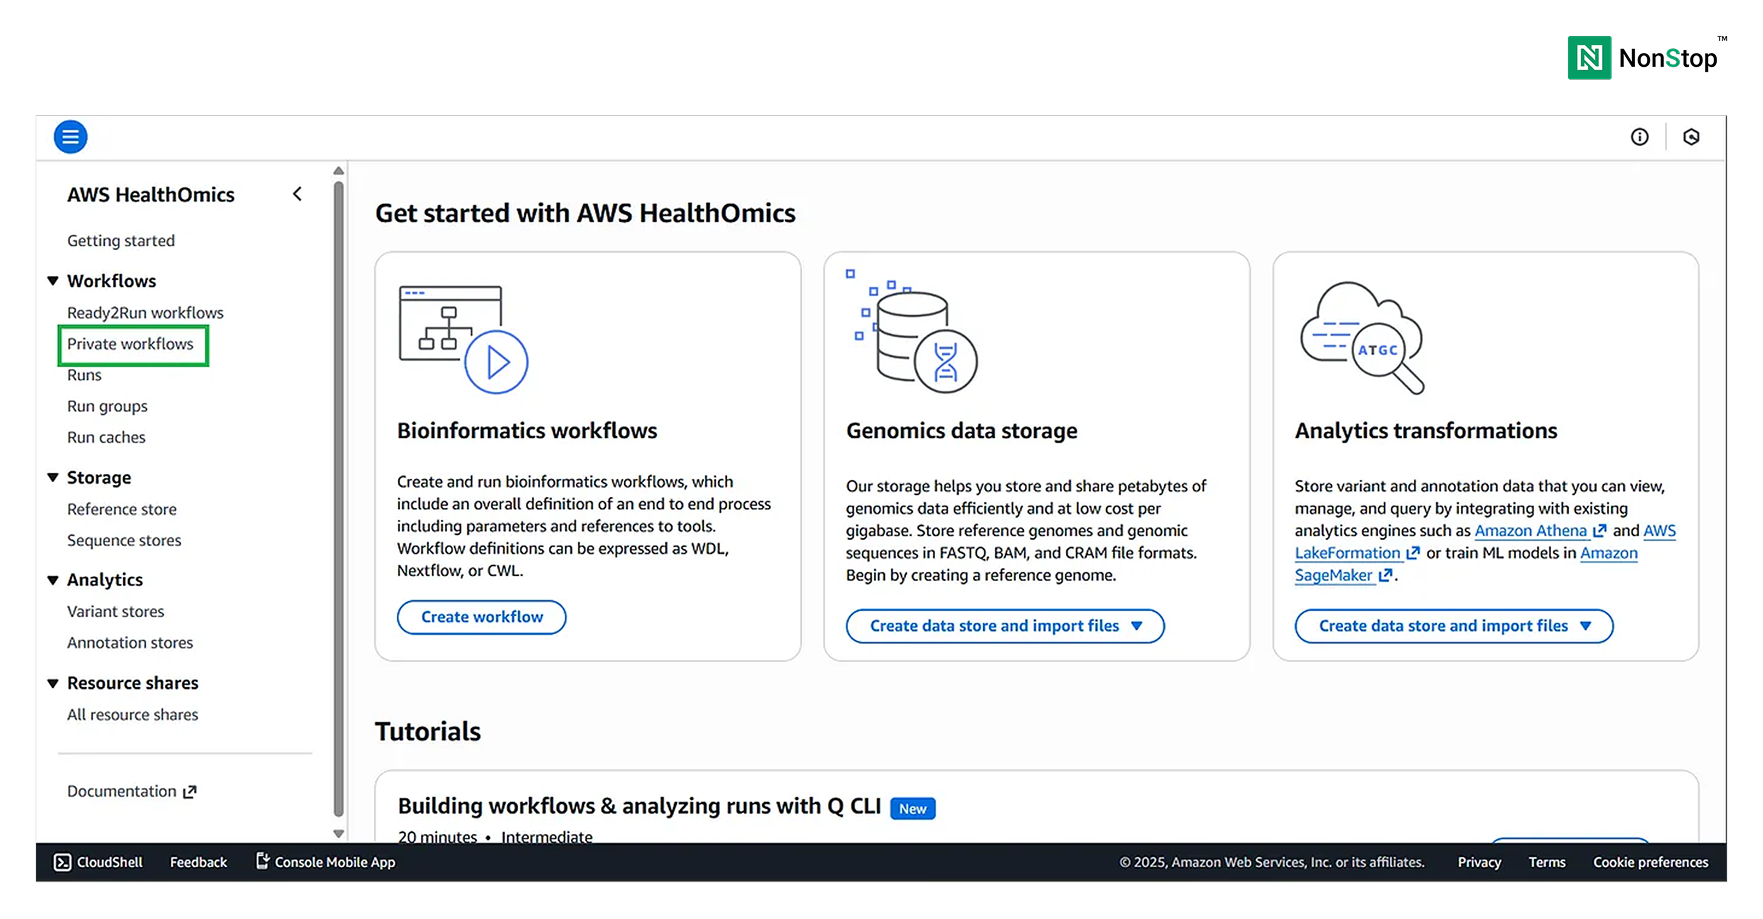
AWS HealthOmics Homepage.
Note: AWS HealthOmics also provides Ready2Run workflows, which you can run directly on your data. The costing for each of those workflows is provided along with them.
Also, under the Storage section, you can see: Reference Stores and Sequence Stores. You can use these stores (i.e., databases) to store your sequences and references. However, for this tutorial, we will stick to S3 buckets.
Create a workflow
Scroll down and simply click on the Create Workflow button.
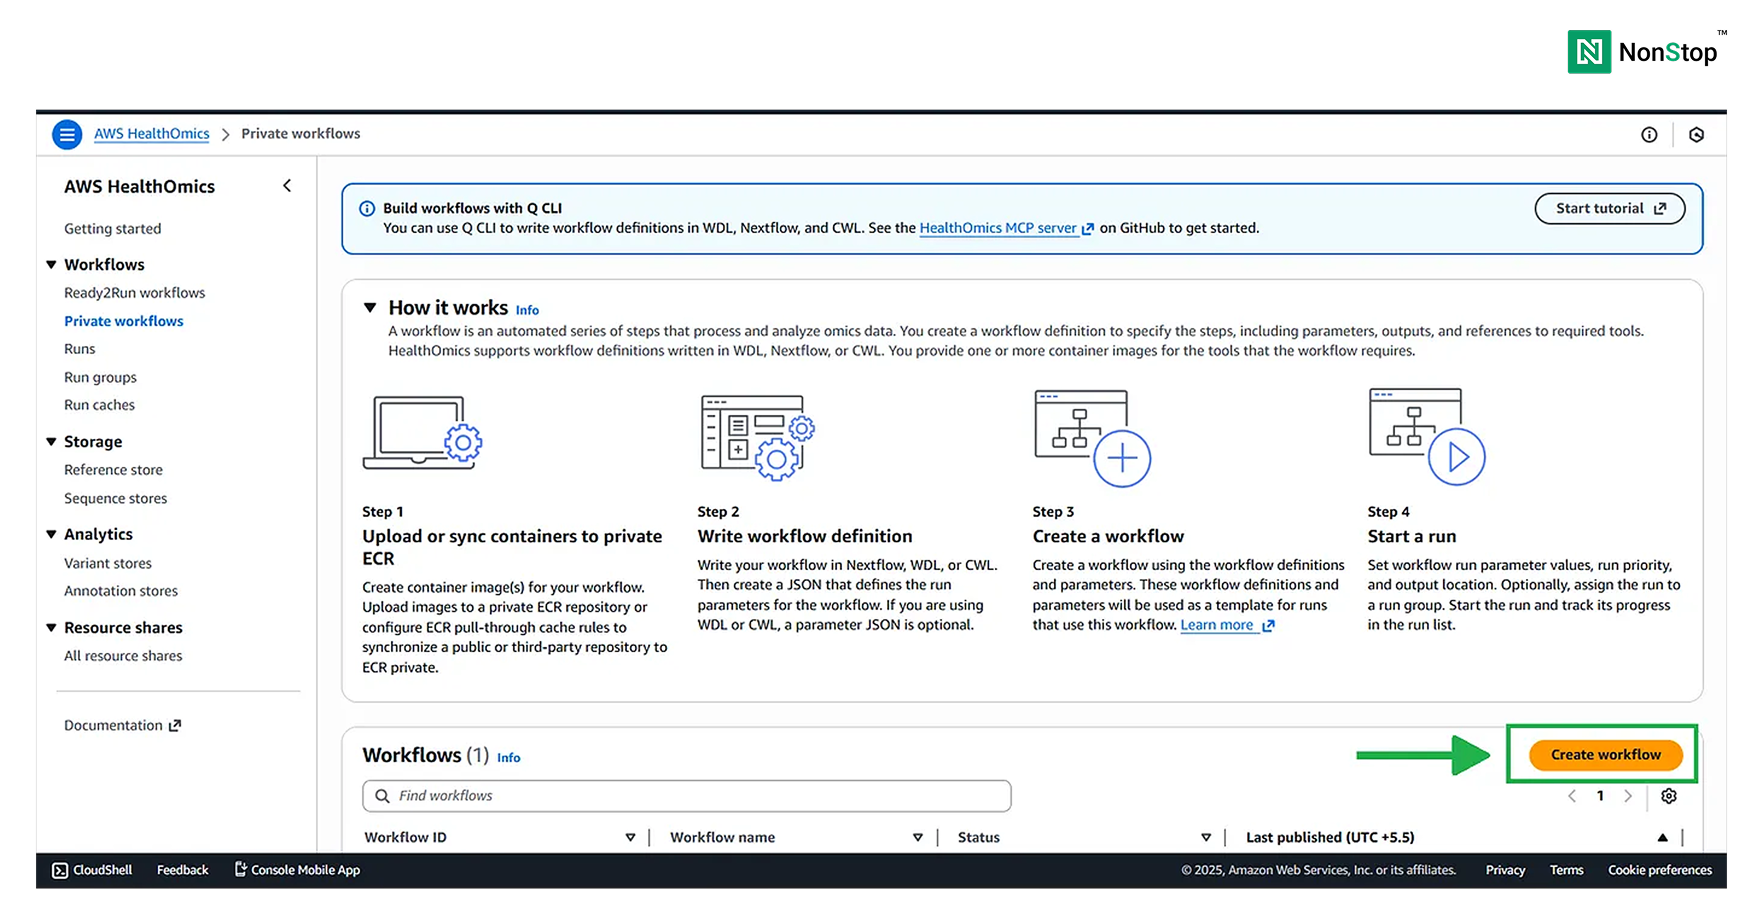
Private workflows in AWS HealthOmics.
Creating the workflow
Creating a bioinformatics workflow in AWS HealthOmics is a straightforward four-step process.
Note: All the fields marked as optional can be skipped.
Step I: Define the workflow
Provide a name for your workflow and a description (optional).
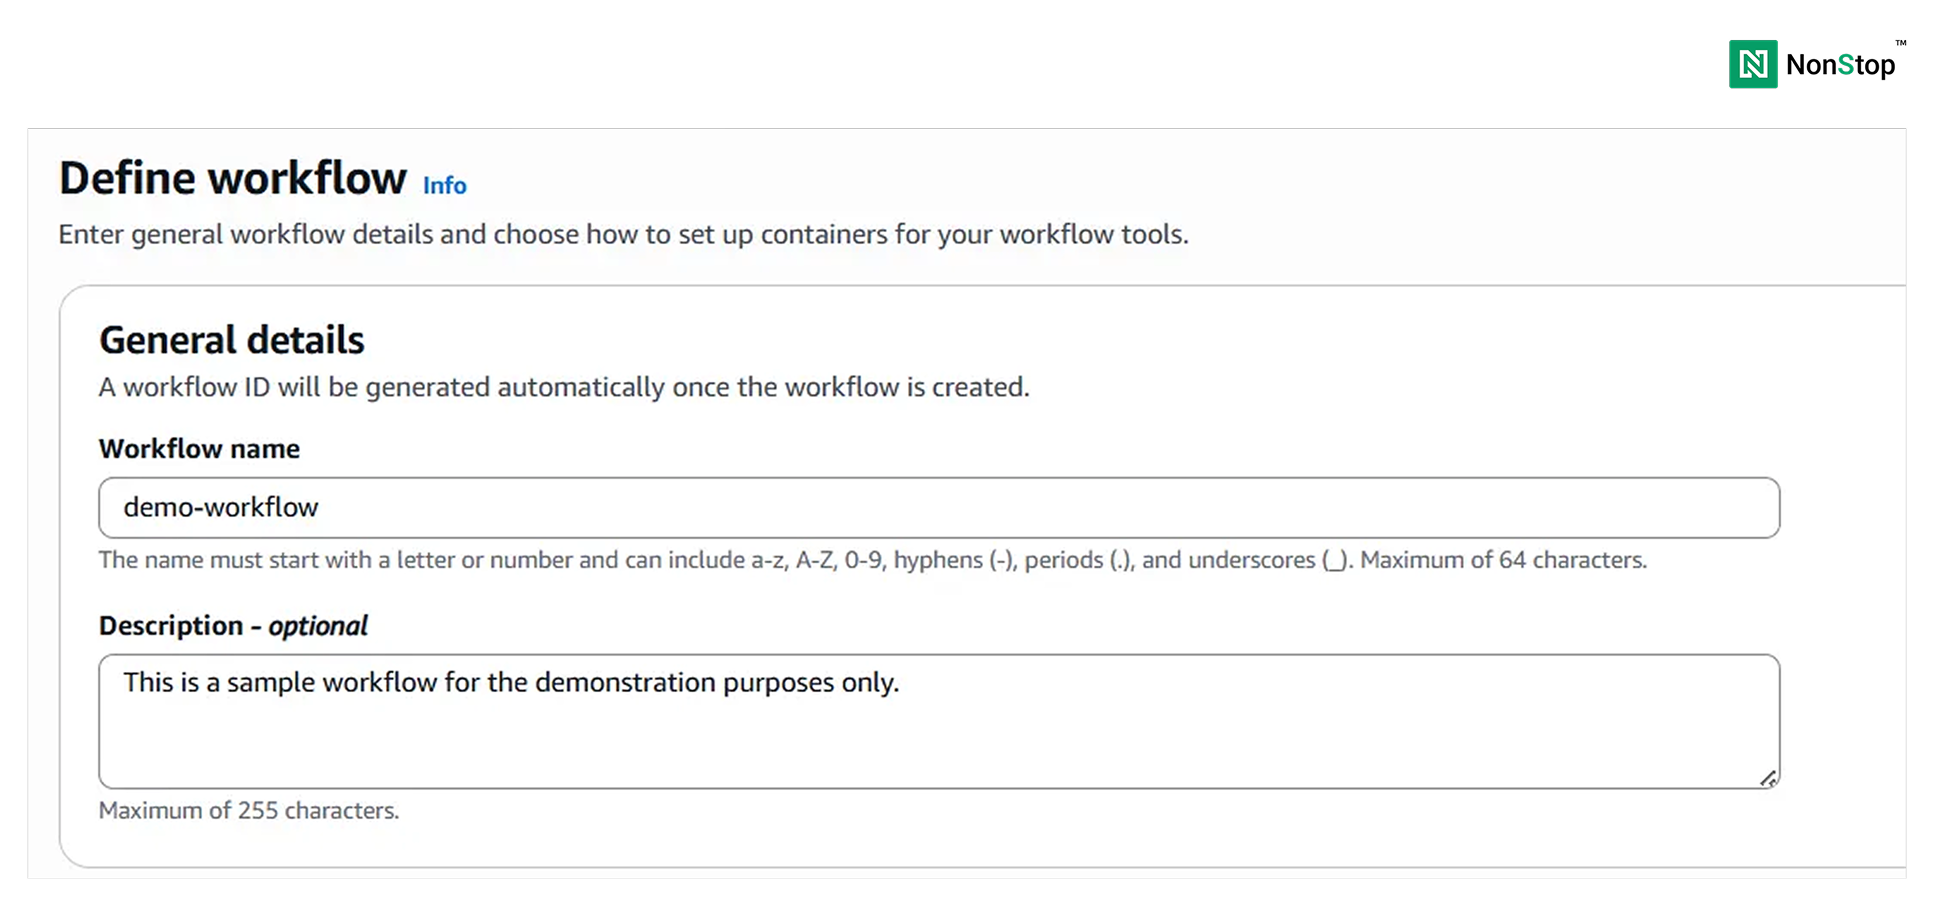
3(i)(1). Define workflow.
Next, choose the Workflow language. Although this is optional, it is better to select it to reduce latency.
Then, we have the option to select the workflow definition source. It can be S3, a git repository, or direct upload from local source. We shall proceed with S3.
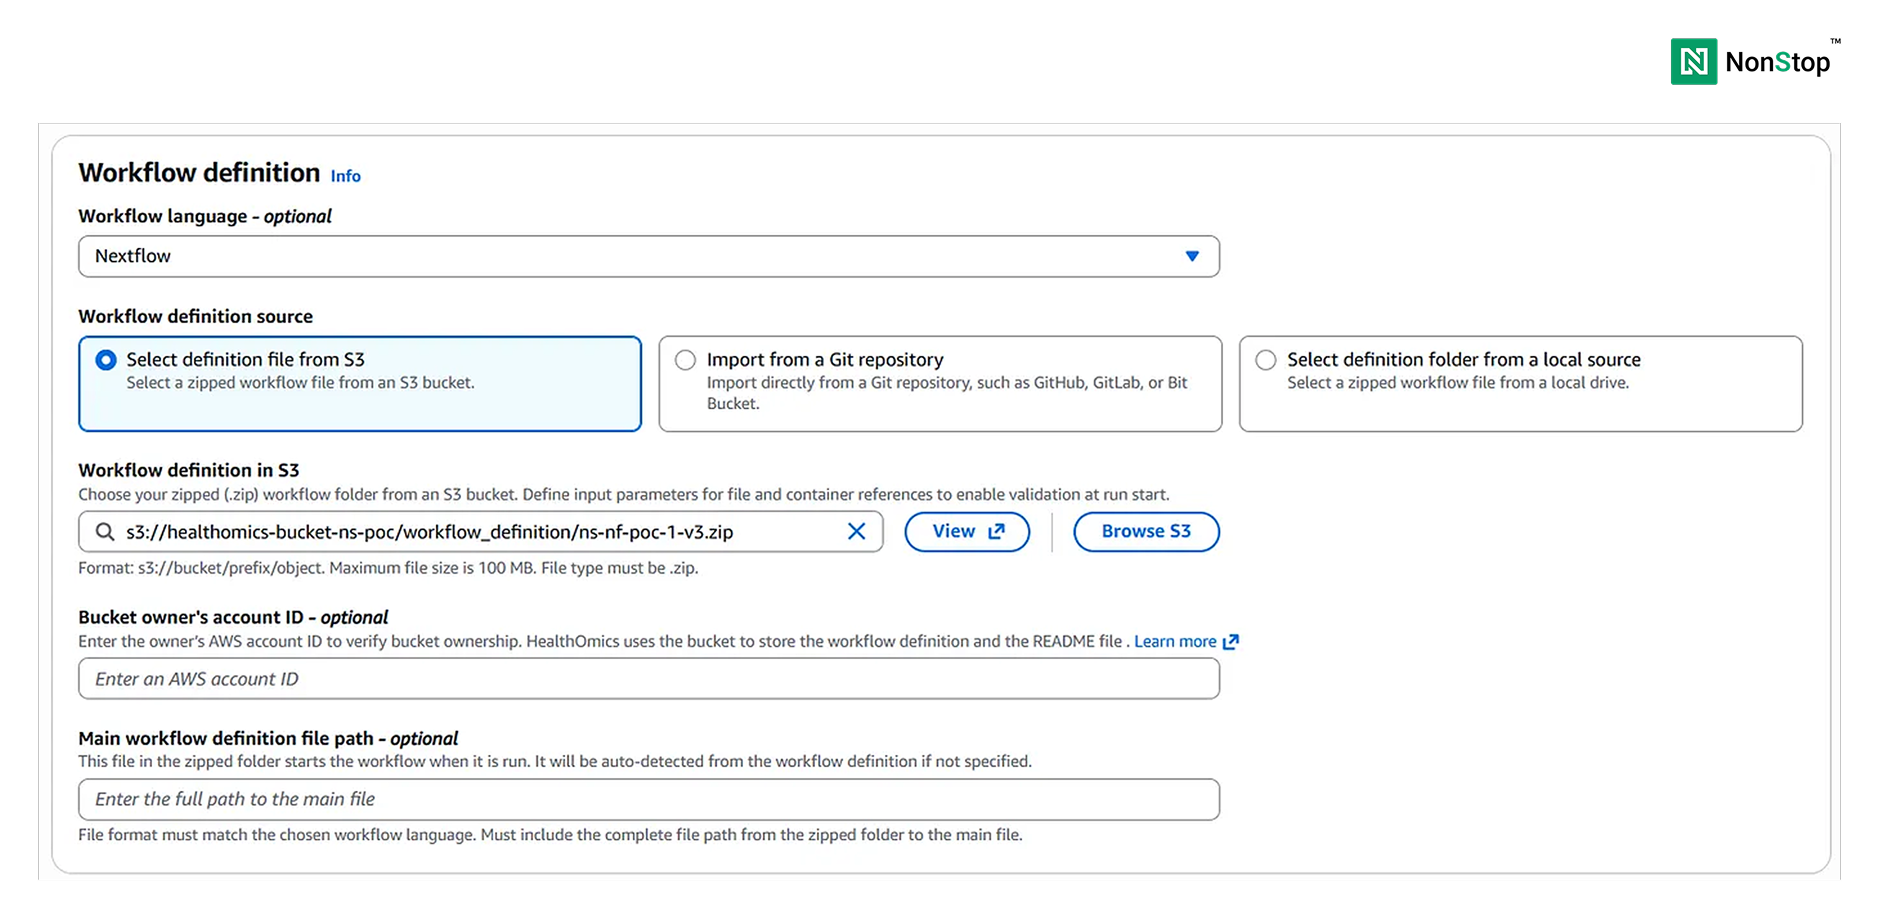
3(i)(2). Workflow definition.
Next, we must select dynamic storage as we don’t have a very high resource requirement.
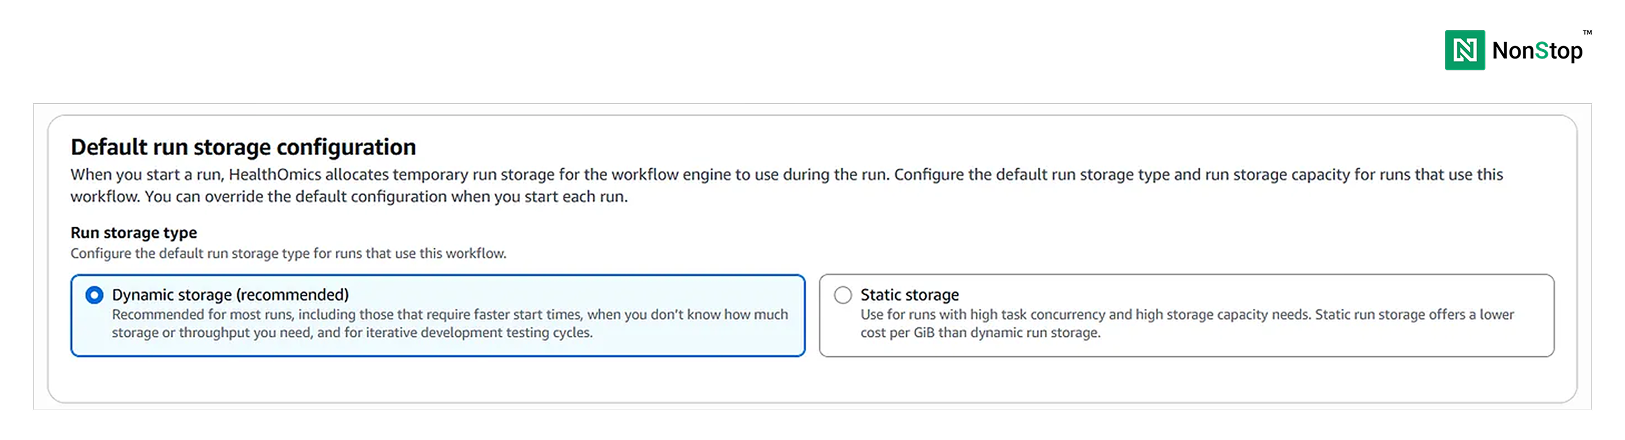
3(i)(3). Default run storage configuration.
We will leave all the other optional fields blank.
The first step towards building a bioinformatics workflow in AWS HealthOmics is complete!
Step II: Add workflow parameters — optional
Although this is optional, we shall pass the path to the reads on S3 via parameters.
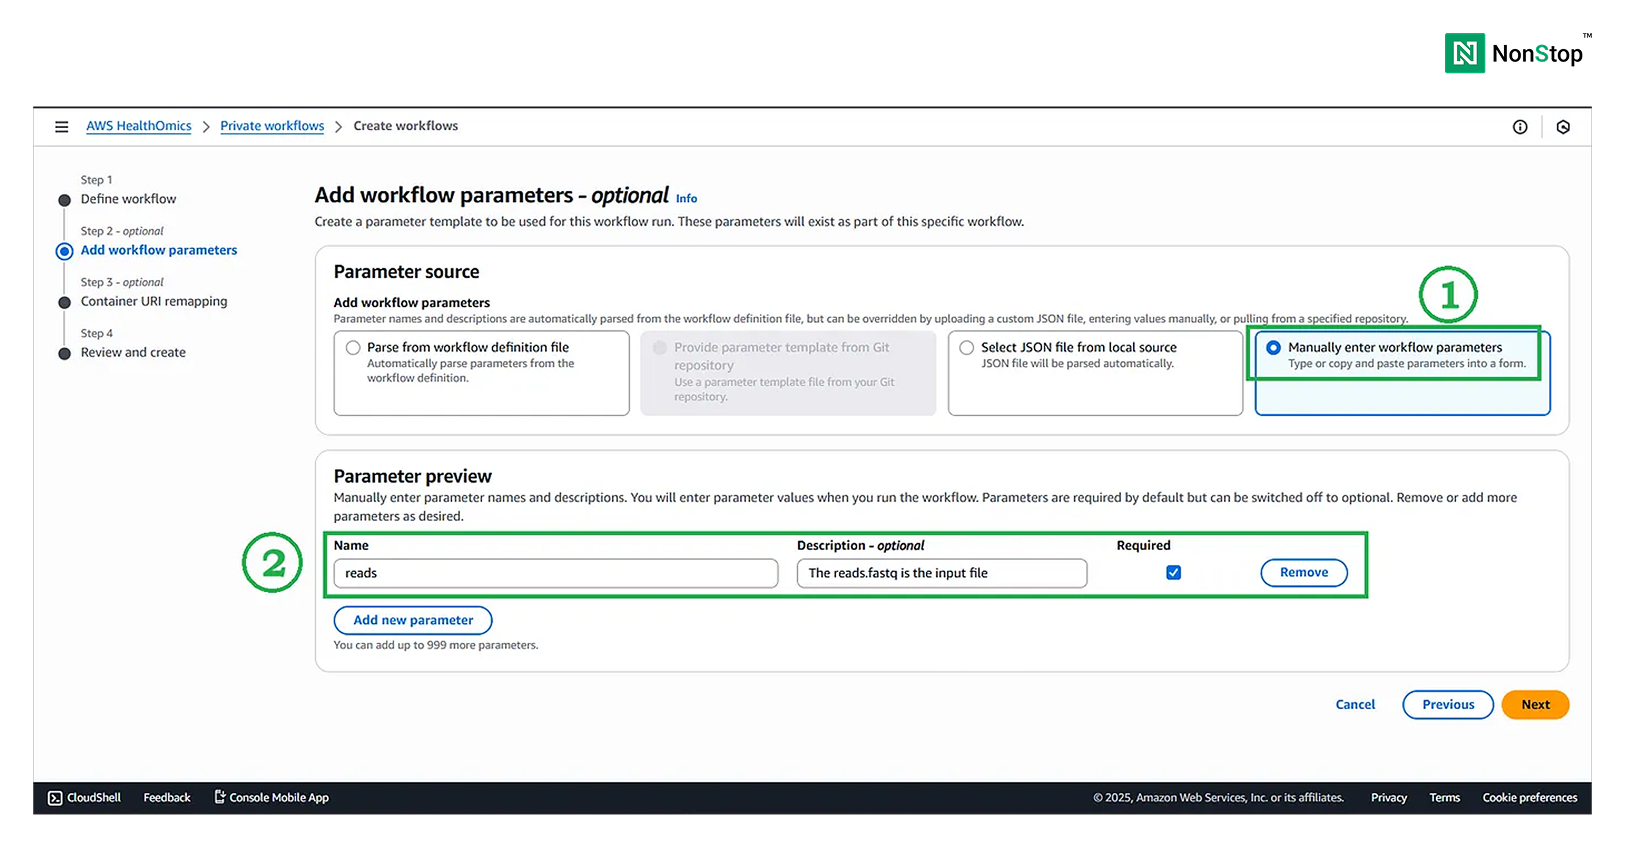
Add workflow parameter.
Step III: Container URI remapping — optional
We will choose the source of the mapping file as None, because the Docker images are already uploaded to ECR and linked in the source code.
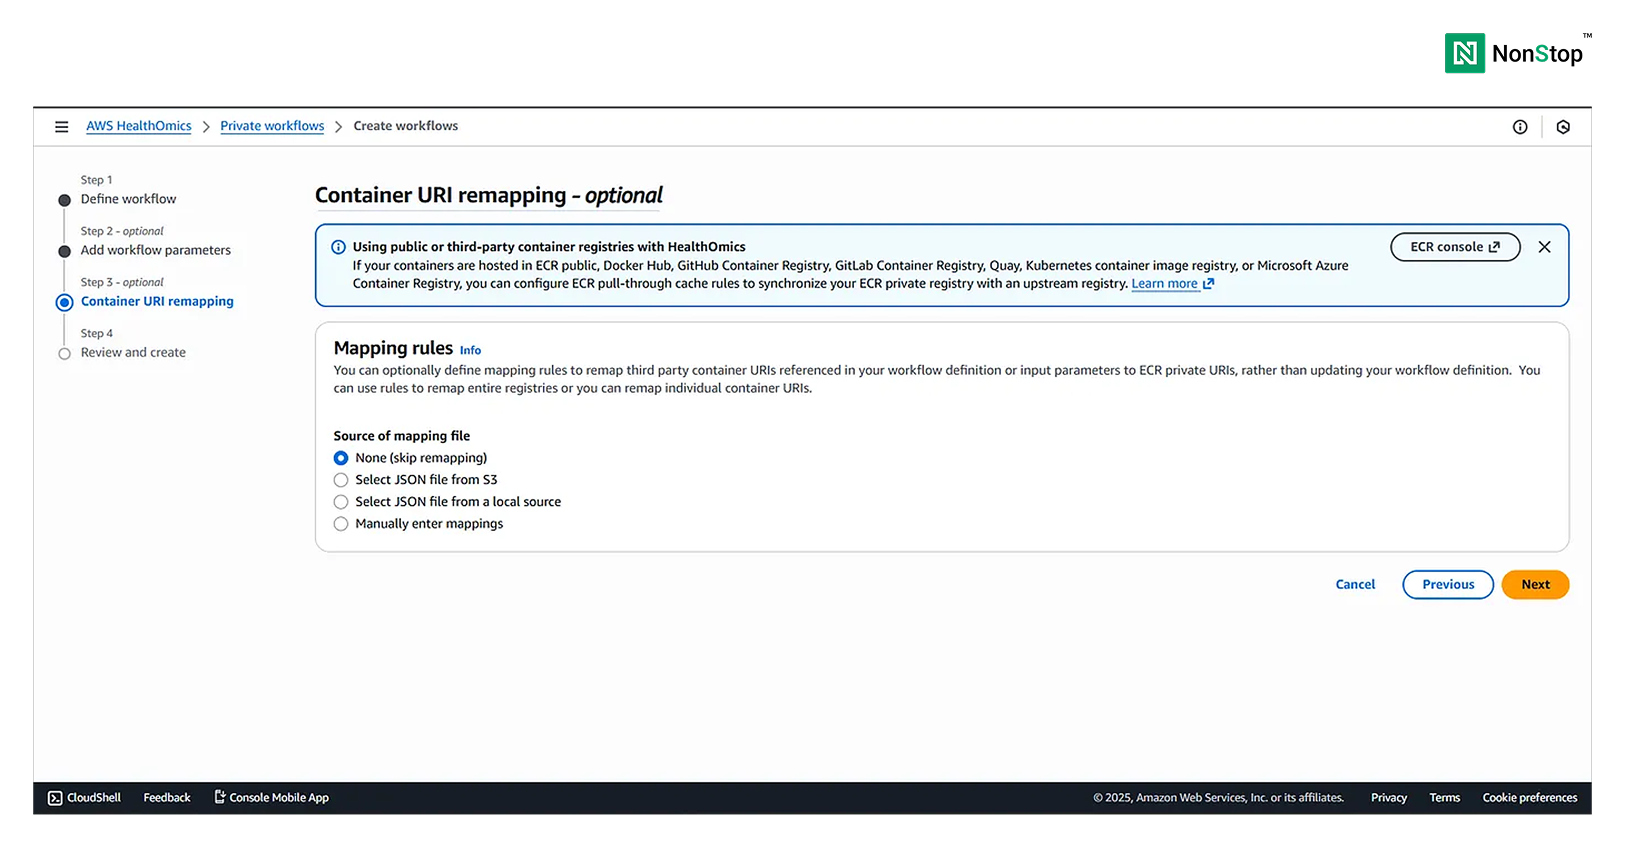
Container URI remapping.
Step IV: Review and create
This is just an overview of the configuration. Scroll to the bottom and click Create workflow. HealthOmics might take a few minutes to get everything up and running.
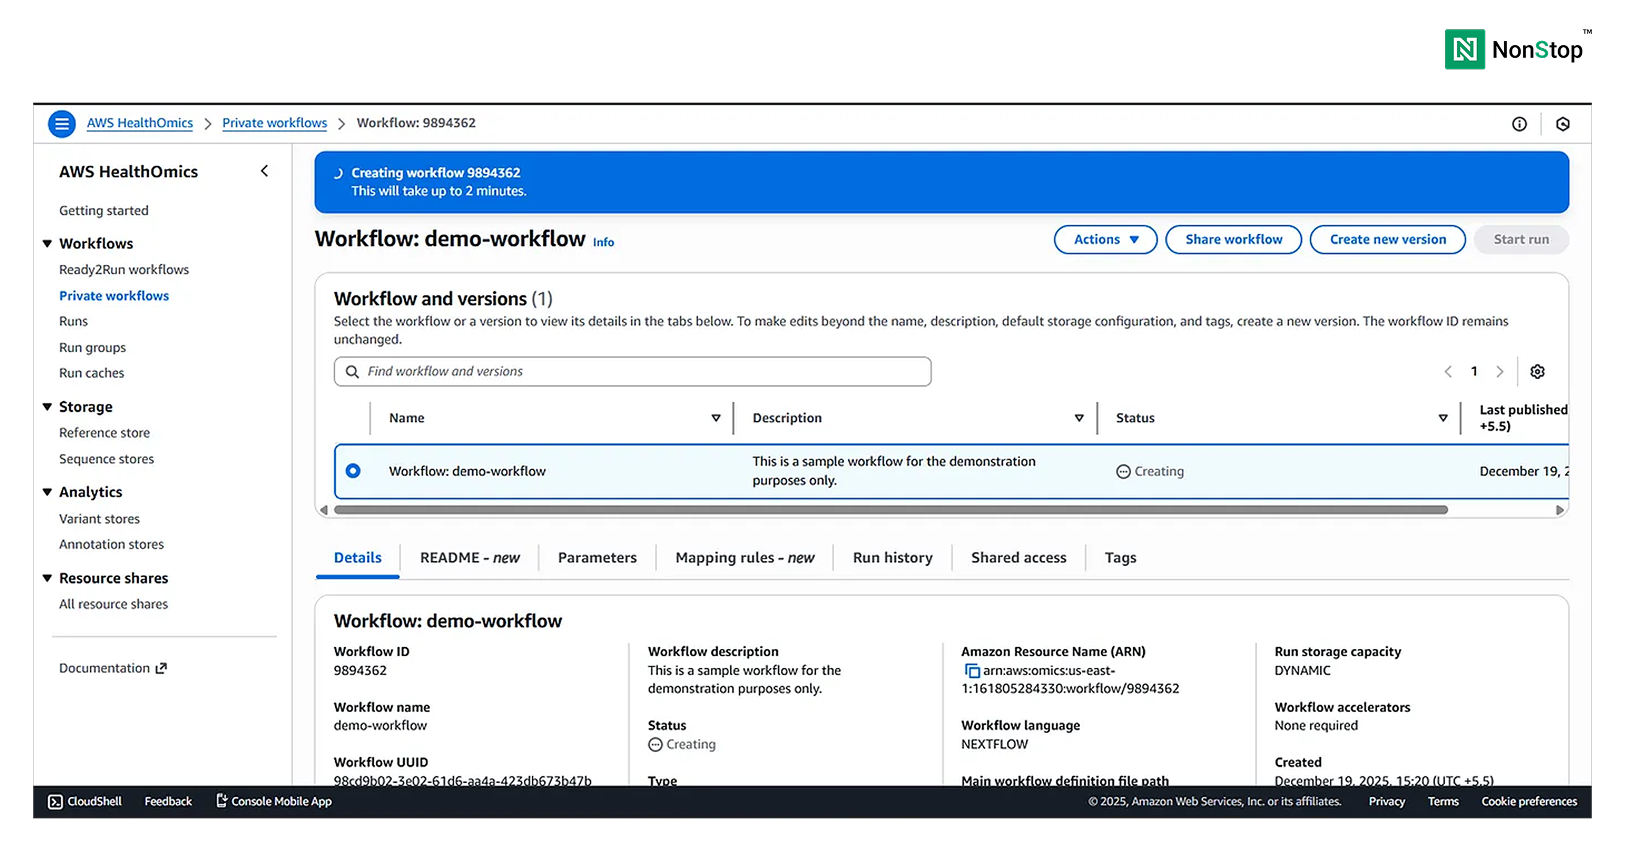
3(iv)(1). AWS HealthOmics is creating your workflow.
Once the workflow is ready to run, HealthOmics will display a pop-up:

3(iv)(2). AWS HealthOmics successfully created the workflow.
Running the workflow
Once your workflow is ready, you can run it with just a single click!
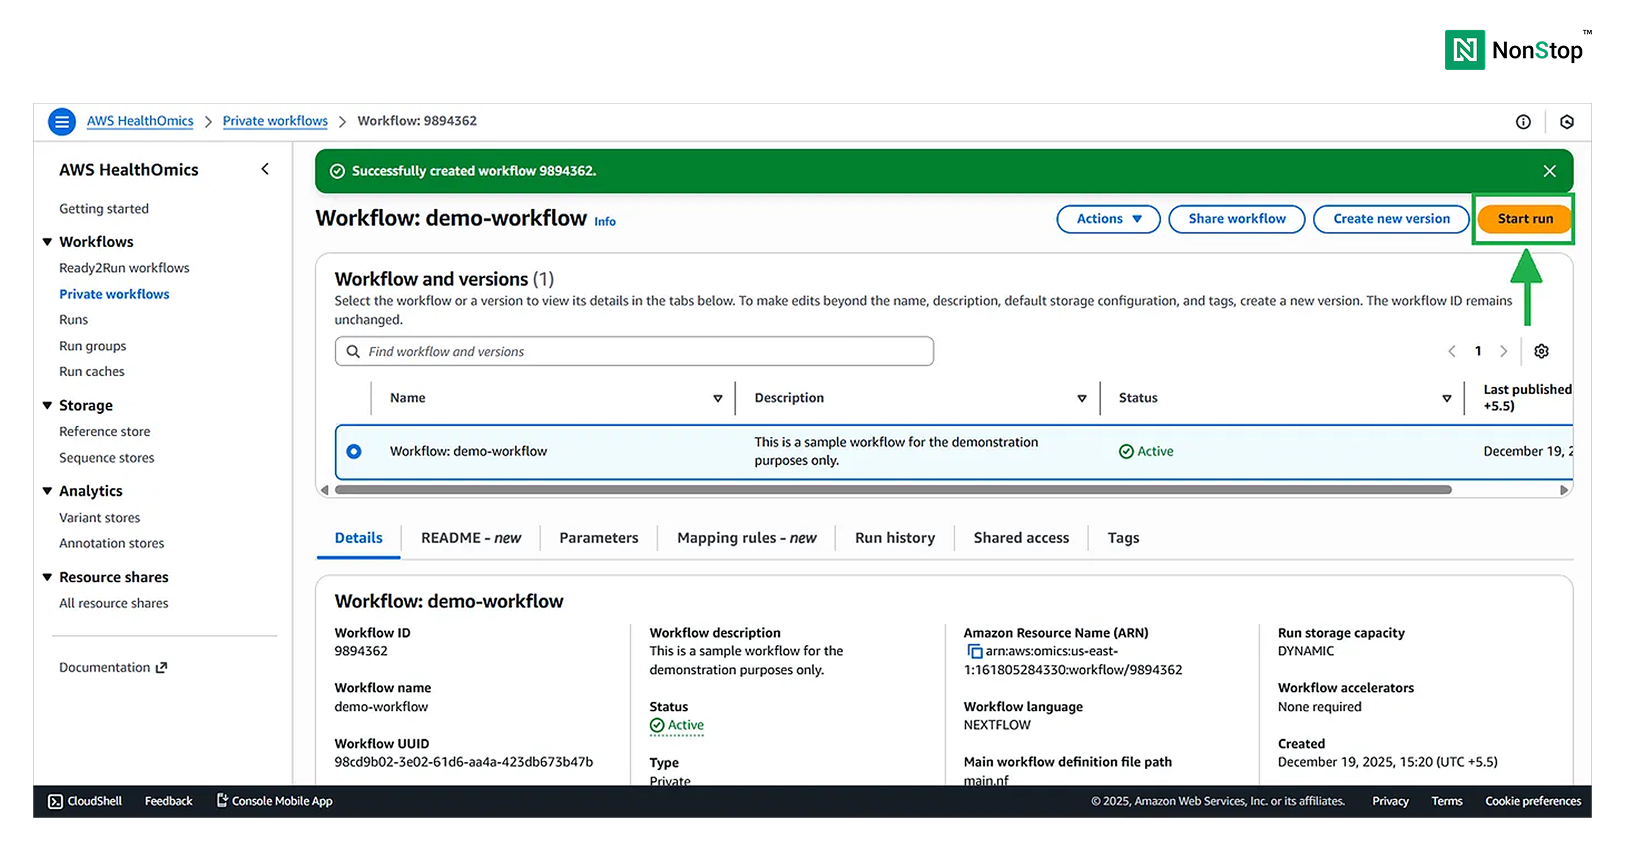
Start run button for running the workflow.
Now, running the workflow is again divided into four steps.
Step I: Specify run details
Select the Owned workflow as we just created one. You can provide any name to this particular run. Choose the run storage type as Dynamic.
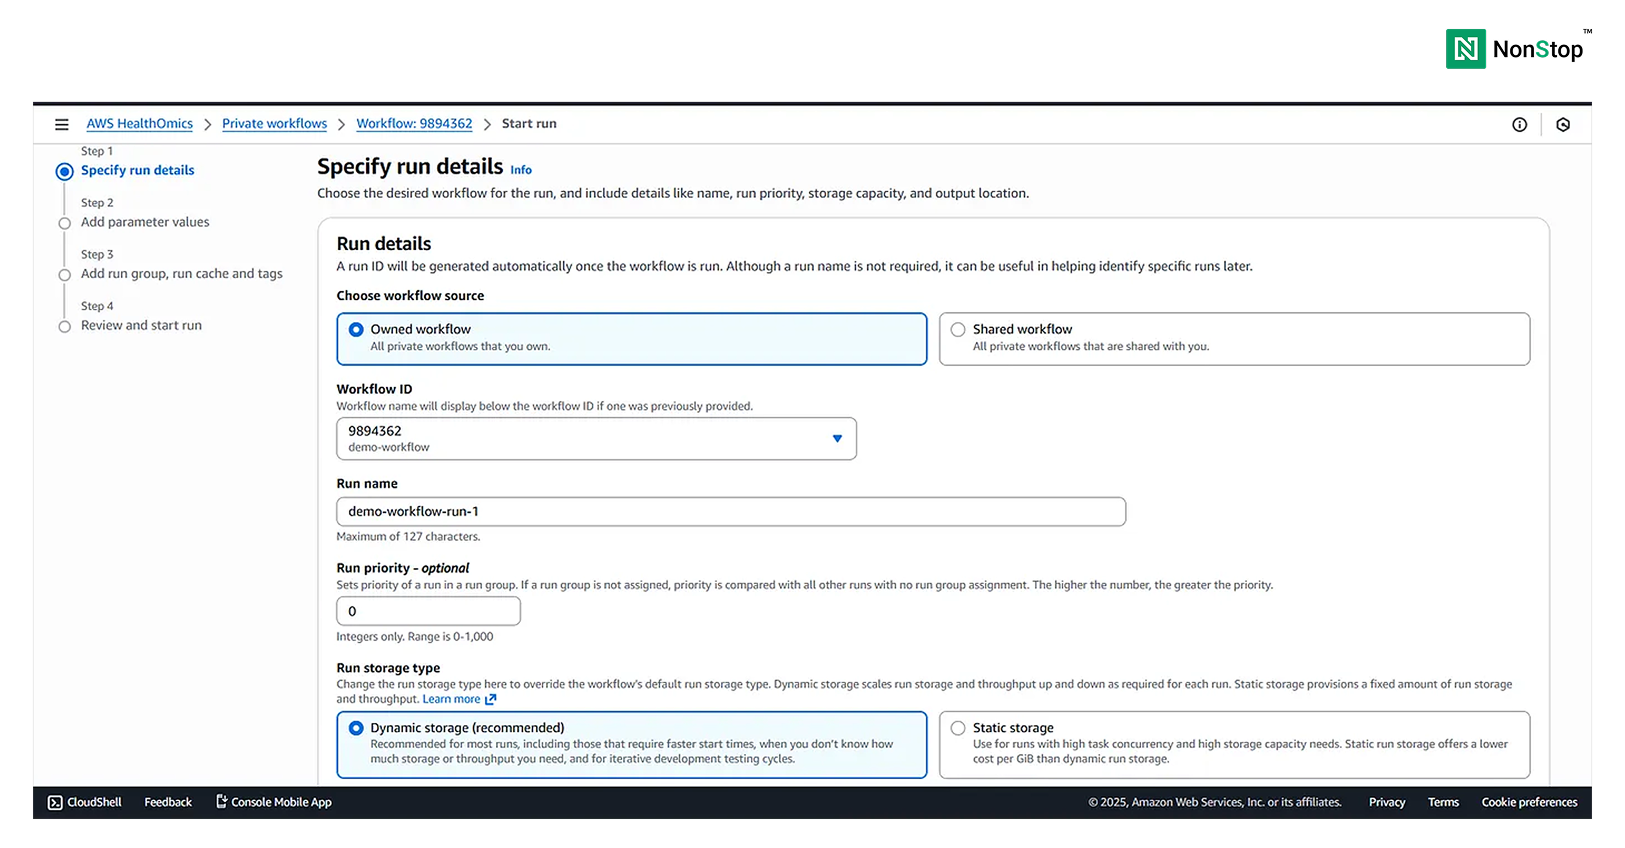
4(i)(1). Specify run details.
Then provide the output destination for the workflow, which would again be an S3 bucket. Also create an IAM service role which allows HealthOmics to access S3.

4(i)(2). S3 output destination and Service role.
Step II: Add parameter values
Provide the values for the parameters. Choose the manual option and provide the path to the input reads fastq file.
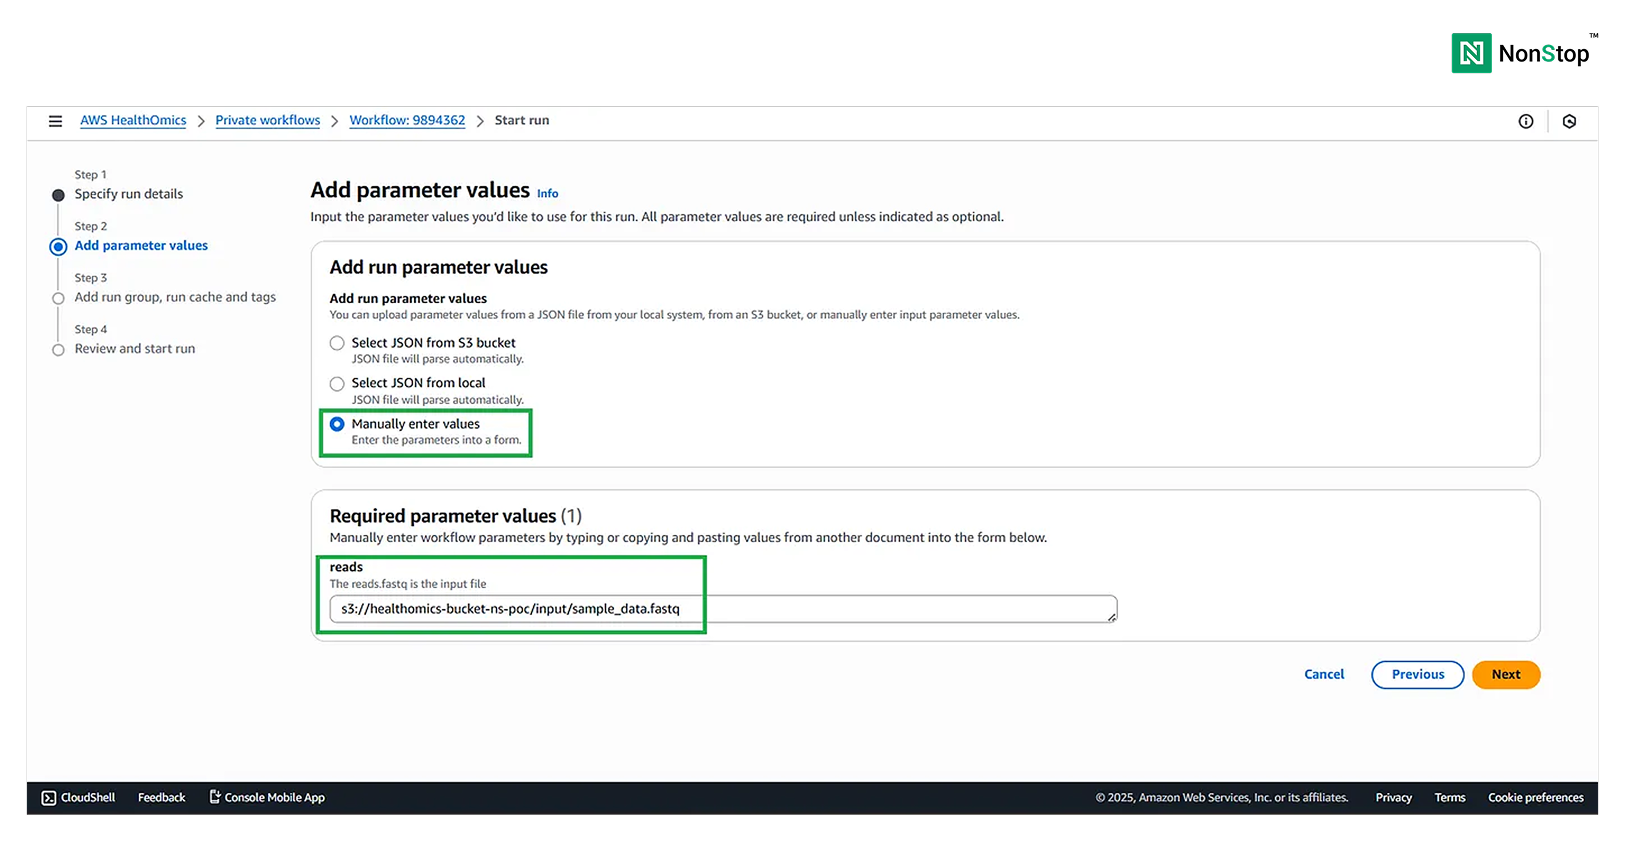
Parameter value.
Step III: Add run group, run cache, and tags
This is optional and helps organize and optimize industry-grade workflows.
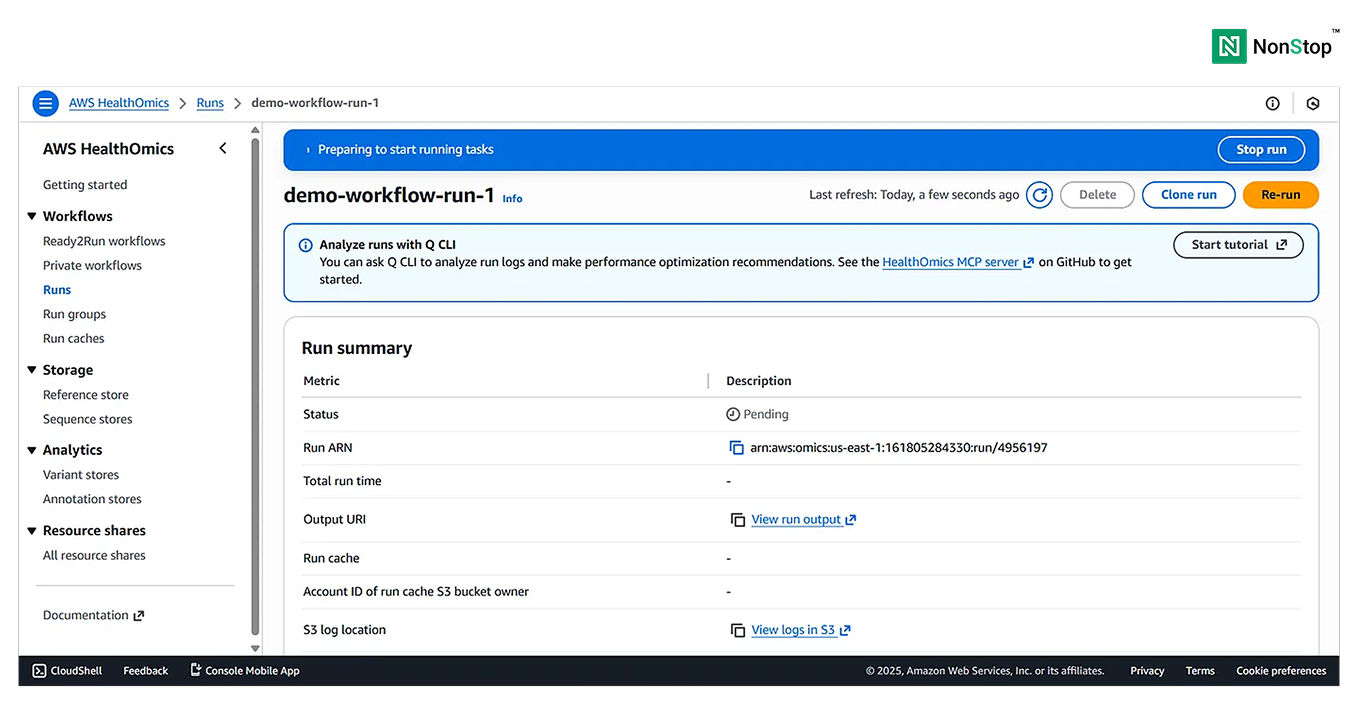
4(iv)(1). AWS HealthOmics is preparing to run your workflow.
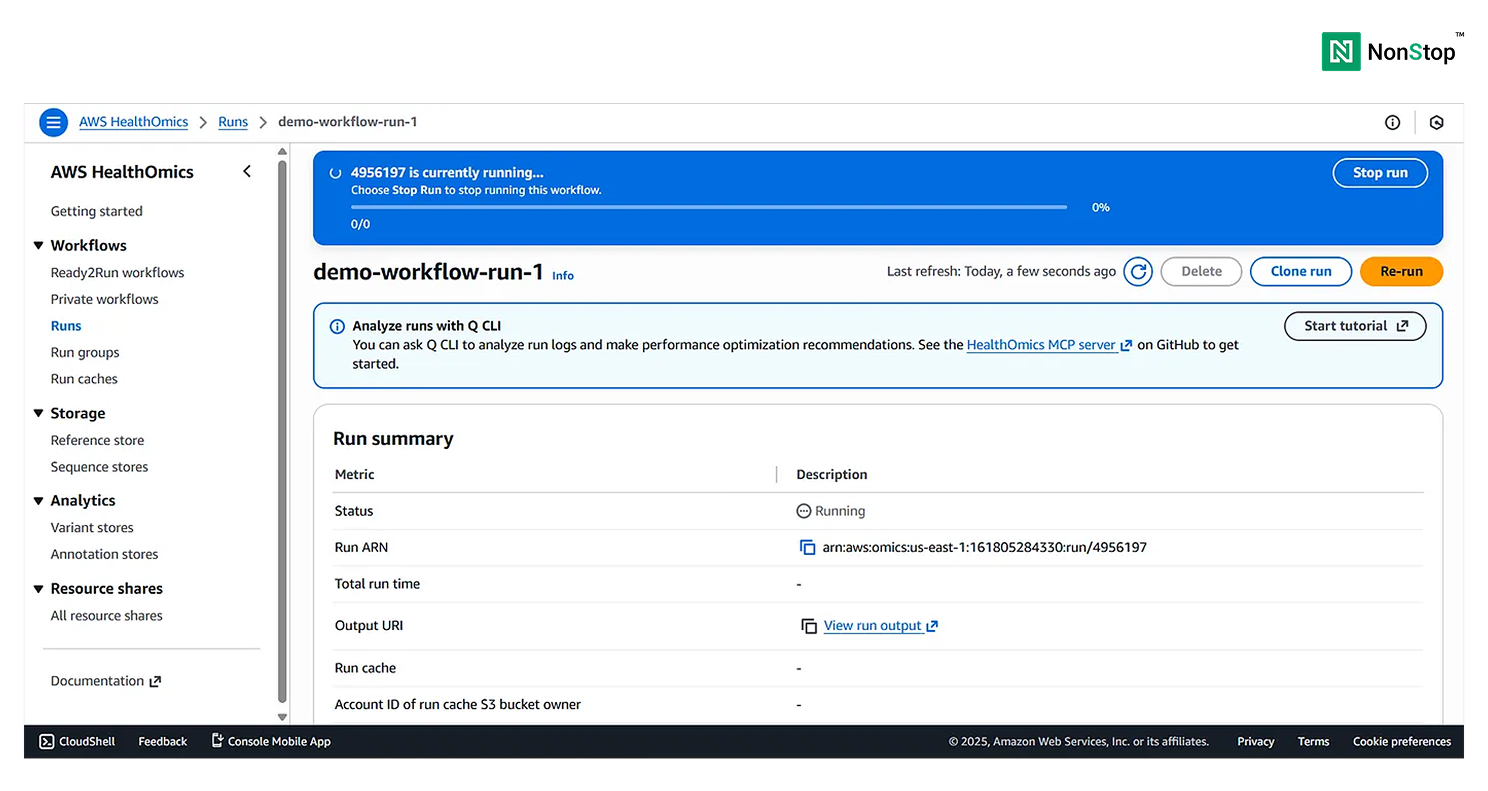
4(iv)(2). AWS HealthOmics is running your workflow.
Once the run is successful, you’ll receive the following pop-up:
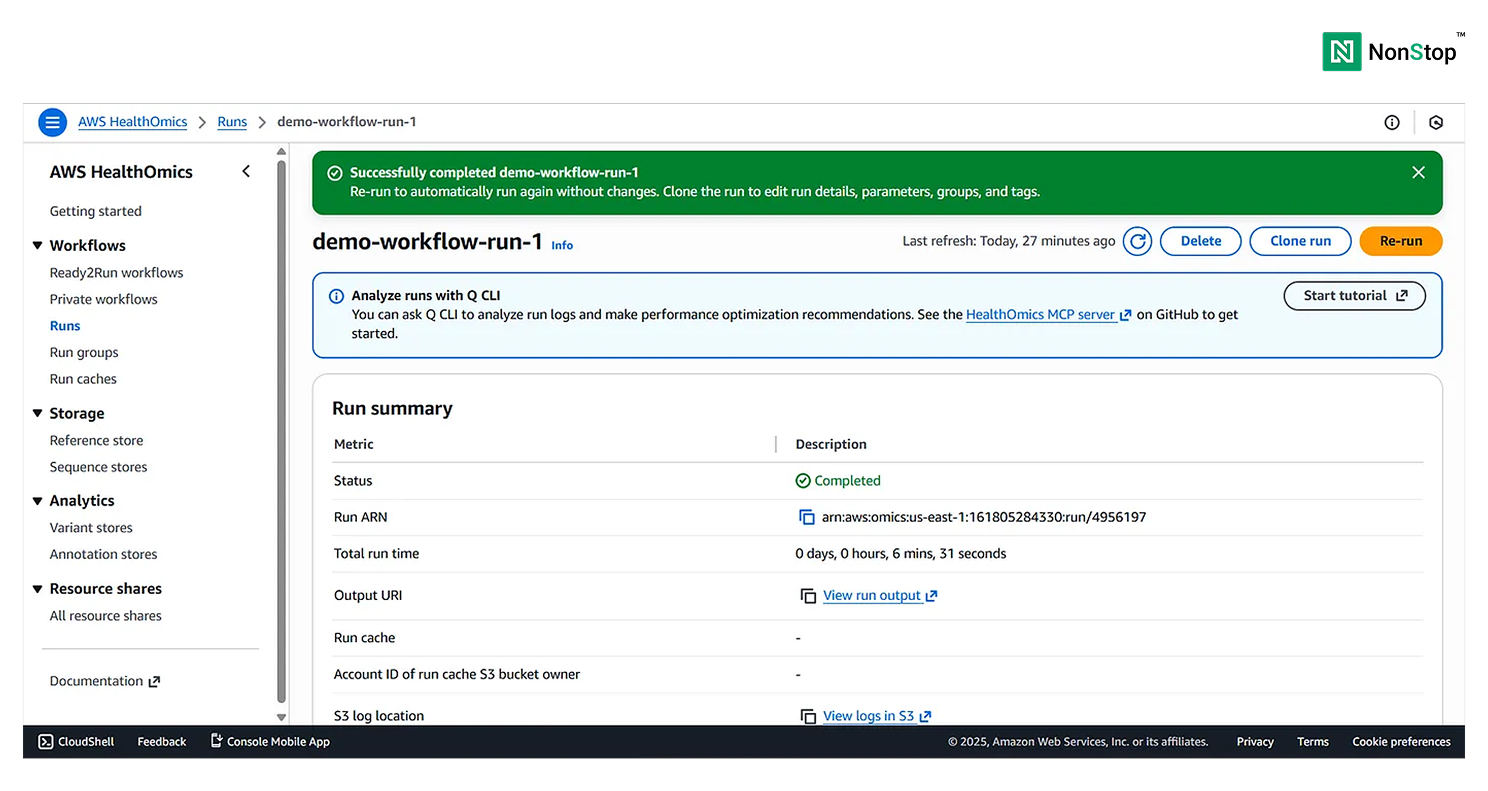
4(iv)(3). Your workflow was executed successfully!
You can view the Run Summary at the bottom of the page:
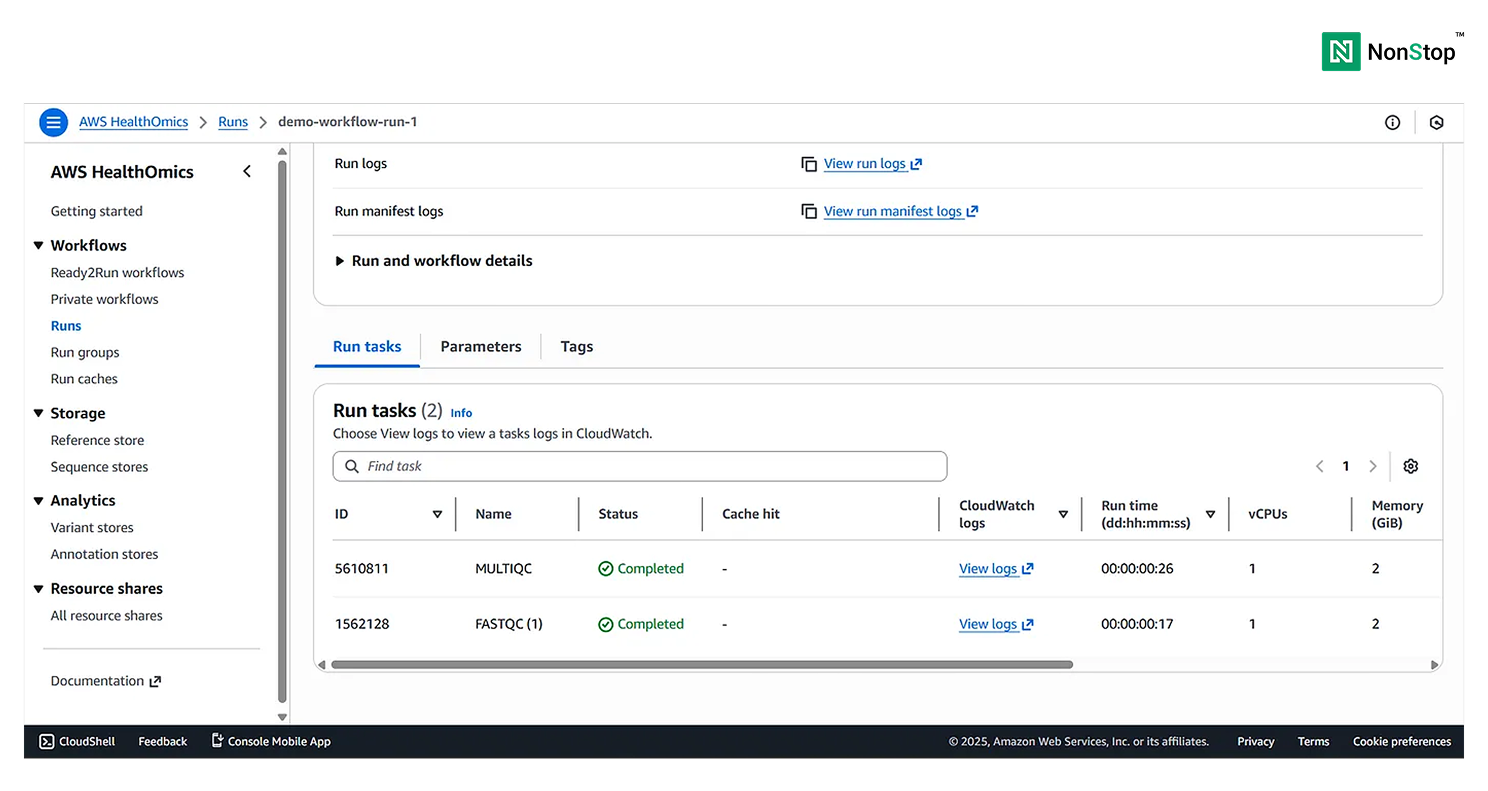
4(iv)(4). Run tasks for your private workflows.
Congratulations 🥳 Your workflow run is complete and successful, the outputs will be present in the S3 bucket.